Showing posts with label cookies. Show all posts

Chocolate-Dipped Coconut Macaroons – What a Difference an “O” Makes

| | 0 comments
I’ve always found it amusing that macaroons, which are one of the easiest cookies ever, has the same name, give or take an “o,” as the famously difficult macaron

Even though they have the same origin, which the Italian word maccarone (also where we get macaroni), they couldn’t be more different in texture, as well as the skill they require.

Since we did (and totally nailed) the hard one, I figured I should do the easy one, especially since I just got back from vacation, and something simple seemed like a really good idea. Speaking of easy, using sweetened condensed milk streamlines the operation, and produces a very nice texture, but if you can’t find it, there are many macaroon recipes that use white, or powdered sugar, so don’t let that slow you down.

Regarding the chocolate dip, you can just melt, and use any kind you like, but for that extra professional touch, I suggest tempering the chocolate before you dip.  There are many complicated demos online, which involve heating and cooling the chocolates using very specific temperatures, and they work great, but I generally don’t have the patience. 

Instead, I use a shortcut method that involves chopping up some dark chocolate into the size of peas, melting 75% of it, and then stirring in the other 25%, until it melts. That should get you pretty close, and at the very least you’ll have a firmer, snappier texture than if you just melted all the chocolate at once, and started dipping. Either way, I hope you give these easy coconut macaroons a try soon. Enjoy!


Ingredients for about 24 Chocolate-Dipped Coconut Macaroons:
3/4 cup sweetened condensed milk
1/4 teaspoon almond extract
1 1/2 teaspoons vanilla
1/4 teaspoon fine salt
1 large egg white
3 cups shredded unsweetened coconut
- Bake at 350 F. for 20 minutes, or until golden.

Canelés de Bordeaux (Crispy Baked French Custards) – Hold the Mold!

| | 0 comments
I’ve wanted to do a Canelés de Bordeaux video forever, but just never got around to buying the specially designed molds that they require. After seeing a picture of them online a few days ago, I decided this would be the week, and headed out to the one store near me I knew carried the necessary hardware.

Since it was actually a hardware store that also carries lots of kitchen equipment, I figured they would have the beeswax, as well. I’ve been in that store at least a hundred times, and I would anyways see the canelé molds beckoning me, but never pulled trigger, since I was usually looking for something else.

So, you can imagine my shock when I walked down that aisle, as I’d done so many times before, only to find they were no longer stocked. Thanks a lot, Amazon. Anyway, purely out of spite, I decided to make them anyway, using a regular muffin pan, and the results were pretty amazing.

As long as you cook them long enough, the muffin tin works great, assuming you don’t care about getting the classic shape. Since this was an experiment, I only did six, but I’ve scaled the recipe below to make 12. I’m not sure how many real canelé molds this recipe will fill, but it’s probably close to that. Either way, I really hope you give these a try soon. Enjoy!


Ingredients for 12 Canelé de Bordeaux:
2 cups whole milk
2 tablespoons plus one teaspoon unsalted butter
1 cup white granulated sugar
1 cup all-purpose flour
4 egg yolks
1/4 teaspoon kosher salt, or 1/8 teaspoon of fine salt
1 teaspoon vanilla extract
1/4 cup rum

For greasing pan:
2 tablespoons butter
2 tablespoons beeswax

- Bake at 450 F. for 10 minutes, then at 375 F. for about 50 minutes more, or until well browned.

-- NOTE: These only stay crispy for about 8 hours. So, fair warning if you plan to make them a day ahead. I've never tried to re-crisp. 

Almond Biscotti – Because Winter is Coming

| | 0 comments
This biscotti video is another installment in our long-running series, “Recipes I Can’t Believe I Haven’t Posted Yet.” But, while I took my sweet time recording this classic Italian dipping cookie, at least I picked a good time to finally feature it, since winter is coming, and with it, plenty of cookie-appropriate occasions.

I decided to go with a very straightforward version, since that’s my personal favorite, but that doesn’t mean you can’t jazz these up in any number of ways.  Different nuts, like hazelnut and/or pistachio work beautifully in these, as does any type of dried fruit. And of course, dipping these in dark chocolate is never a bad idea.

By the way, don’t let that cup of sugar fool you. These are not particularly sweet cookies, and there’s a good reason for that. Traditionally, these are served to dip into sweet dessert wines, like Vin Santo, which is why we don’t want them too sugary to begin with. That’s also the reason why we really do want these crunchy all the way through.

I was pretty noncommittal with the cooking time once these are sliced and put back in the oven, since depending on the size and shape, your baking times will vary greatly. The best plan is to keep peaking at them once they get close, and wait for that perfect golden brown. So, with my apologies for bringing up the holidays so early, I’ll finish by saying I really do hope you give these almond biscotti a try soon. Enjoy!


Ingredients for about 28-30 cookies:
2 cups all-purpose flour
1 teaspoon baking powder
1/4 teaspoon fine salt (1/2 teaspoon kosher)
3 tablespoons room temperature unsalted butter
1 cup plus 1 tablespoon white granulated sugar
1 tablespoon olive oil
2 large eggs
1/4 teaspoon vanilla extract
3/4 teaspoon almond extract
1/2 cup roasted whole almonds
1/2 cup roasted chopped almonds
- Bake loaves at 350 F., let cool 15 minutes before slicing, and then finish at 325 F. until golden brown, and crunchy

Welcome to the Christmas Blog Party!

| | 0 comments
Welcome to the Christmas sweater/outfit blog party! This year, I'm hosting a Christmas blog party instead of a Halloween one. Every guest sent me a pic of themselves in their Christmas attire. Future guests are welcome, by the way, if you'd like to send me a pic.

So, here I am in my sweater welcoming you guys to the party with a plate of cookies.


I actually ended up liking parts of this outfit and plan on wearing them together in the future. Those are icicles hanging on my sweater zipper and the garland was a Dollar Tree find. 50ft for a $1.00 you guys! It's now draped all over the place as a decoration. A close up of the eyeshadow and the hat, because how many times am I going to be able to share that?

That's a little cocktail umbrella on the hat


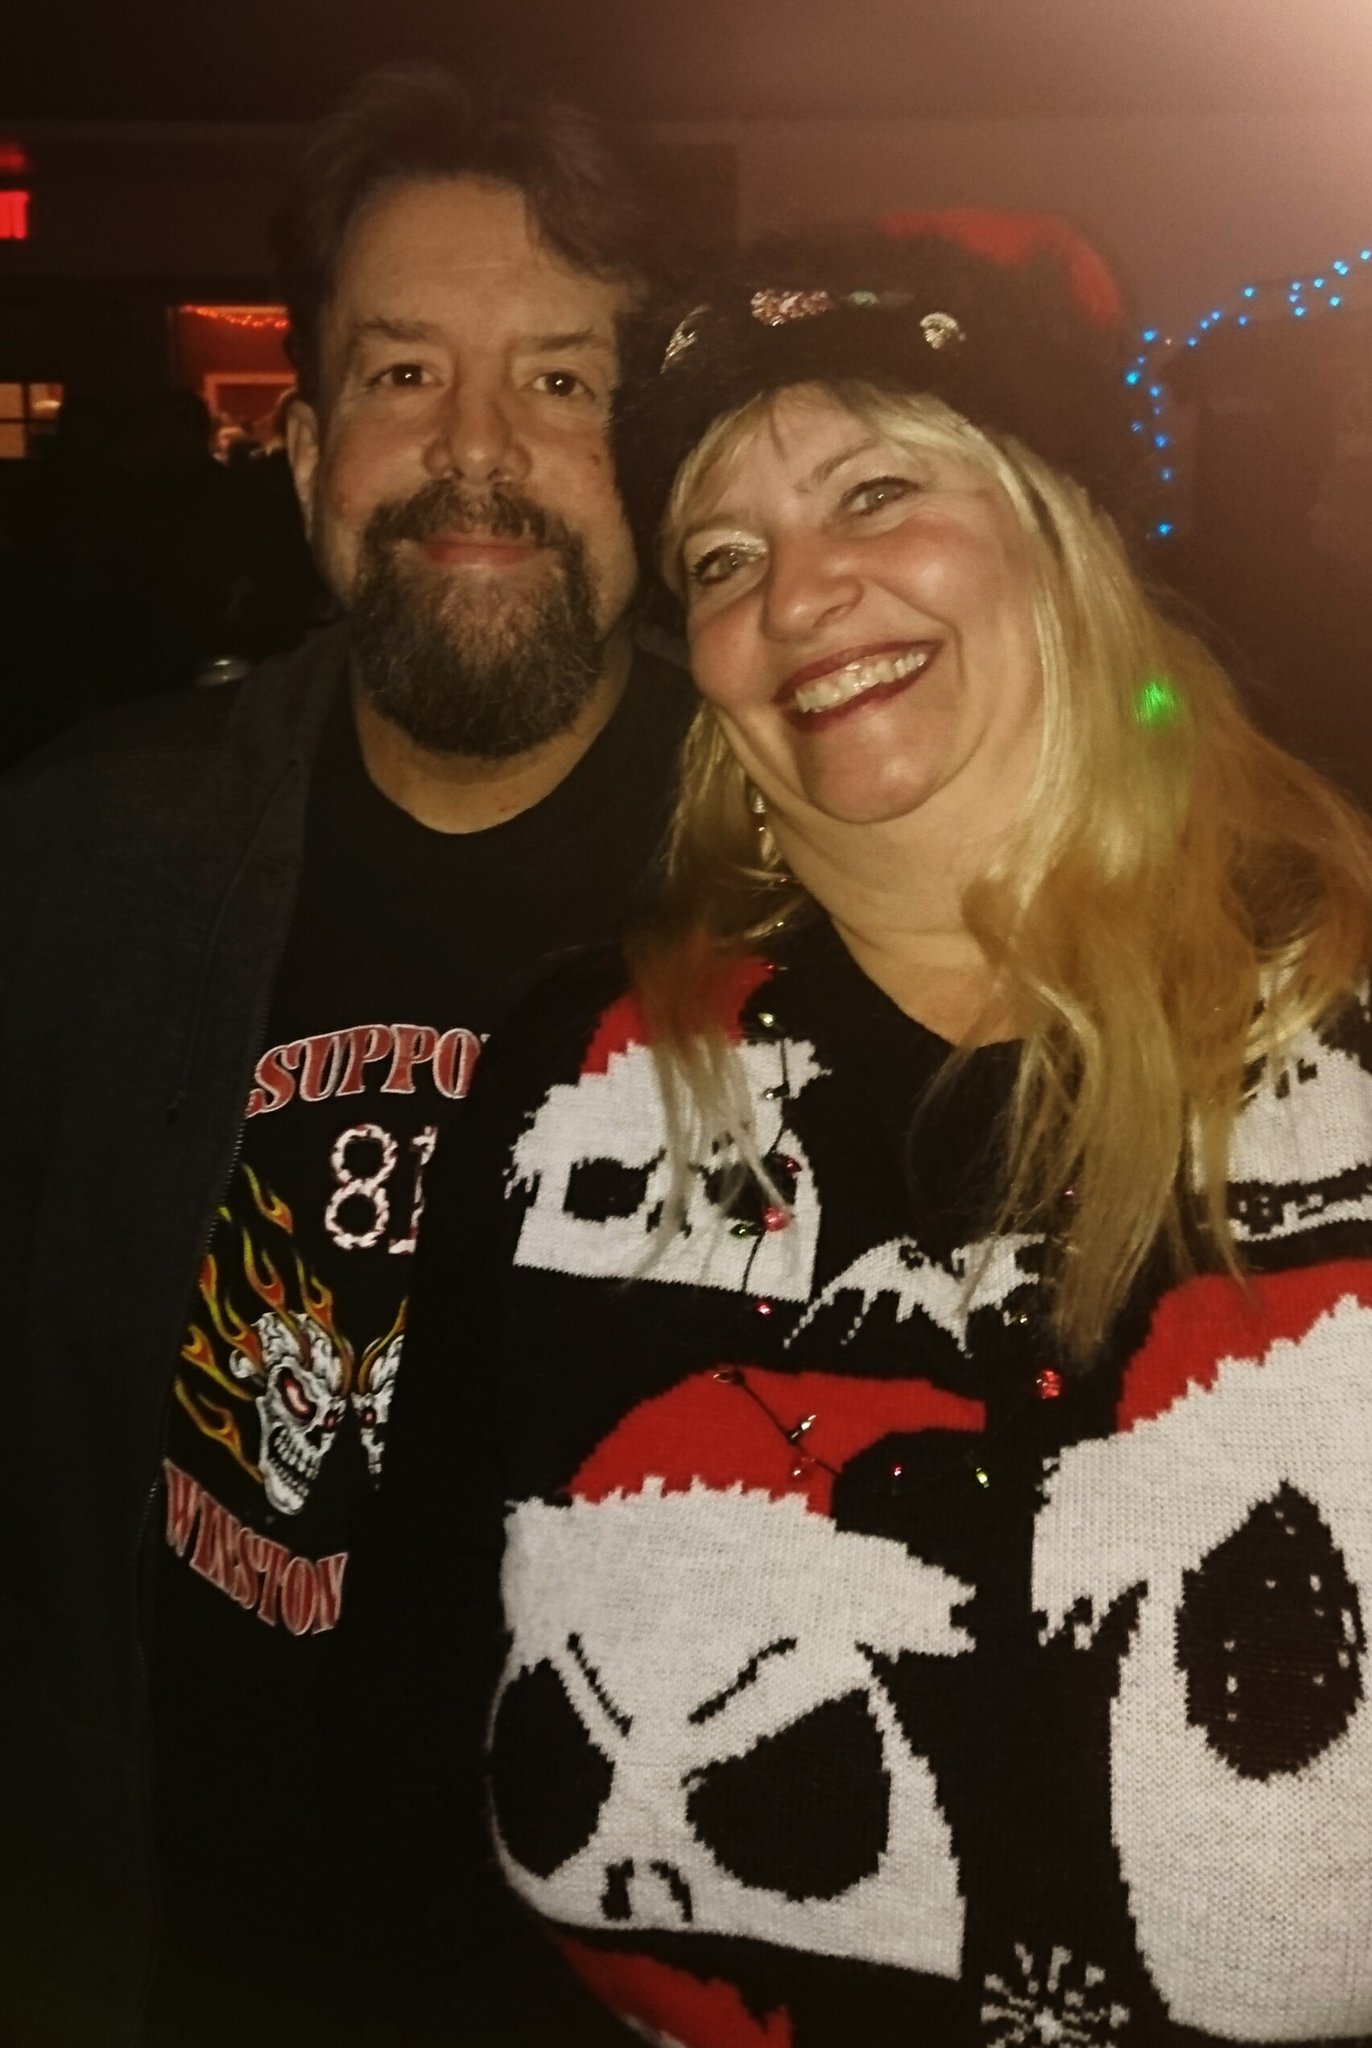
I'm including two pics of Patricia, because I like both of these so much I couldn't decide. She's brought her friend Roger to the party here and she's wearing her Jack Skellington sweater.


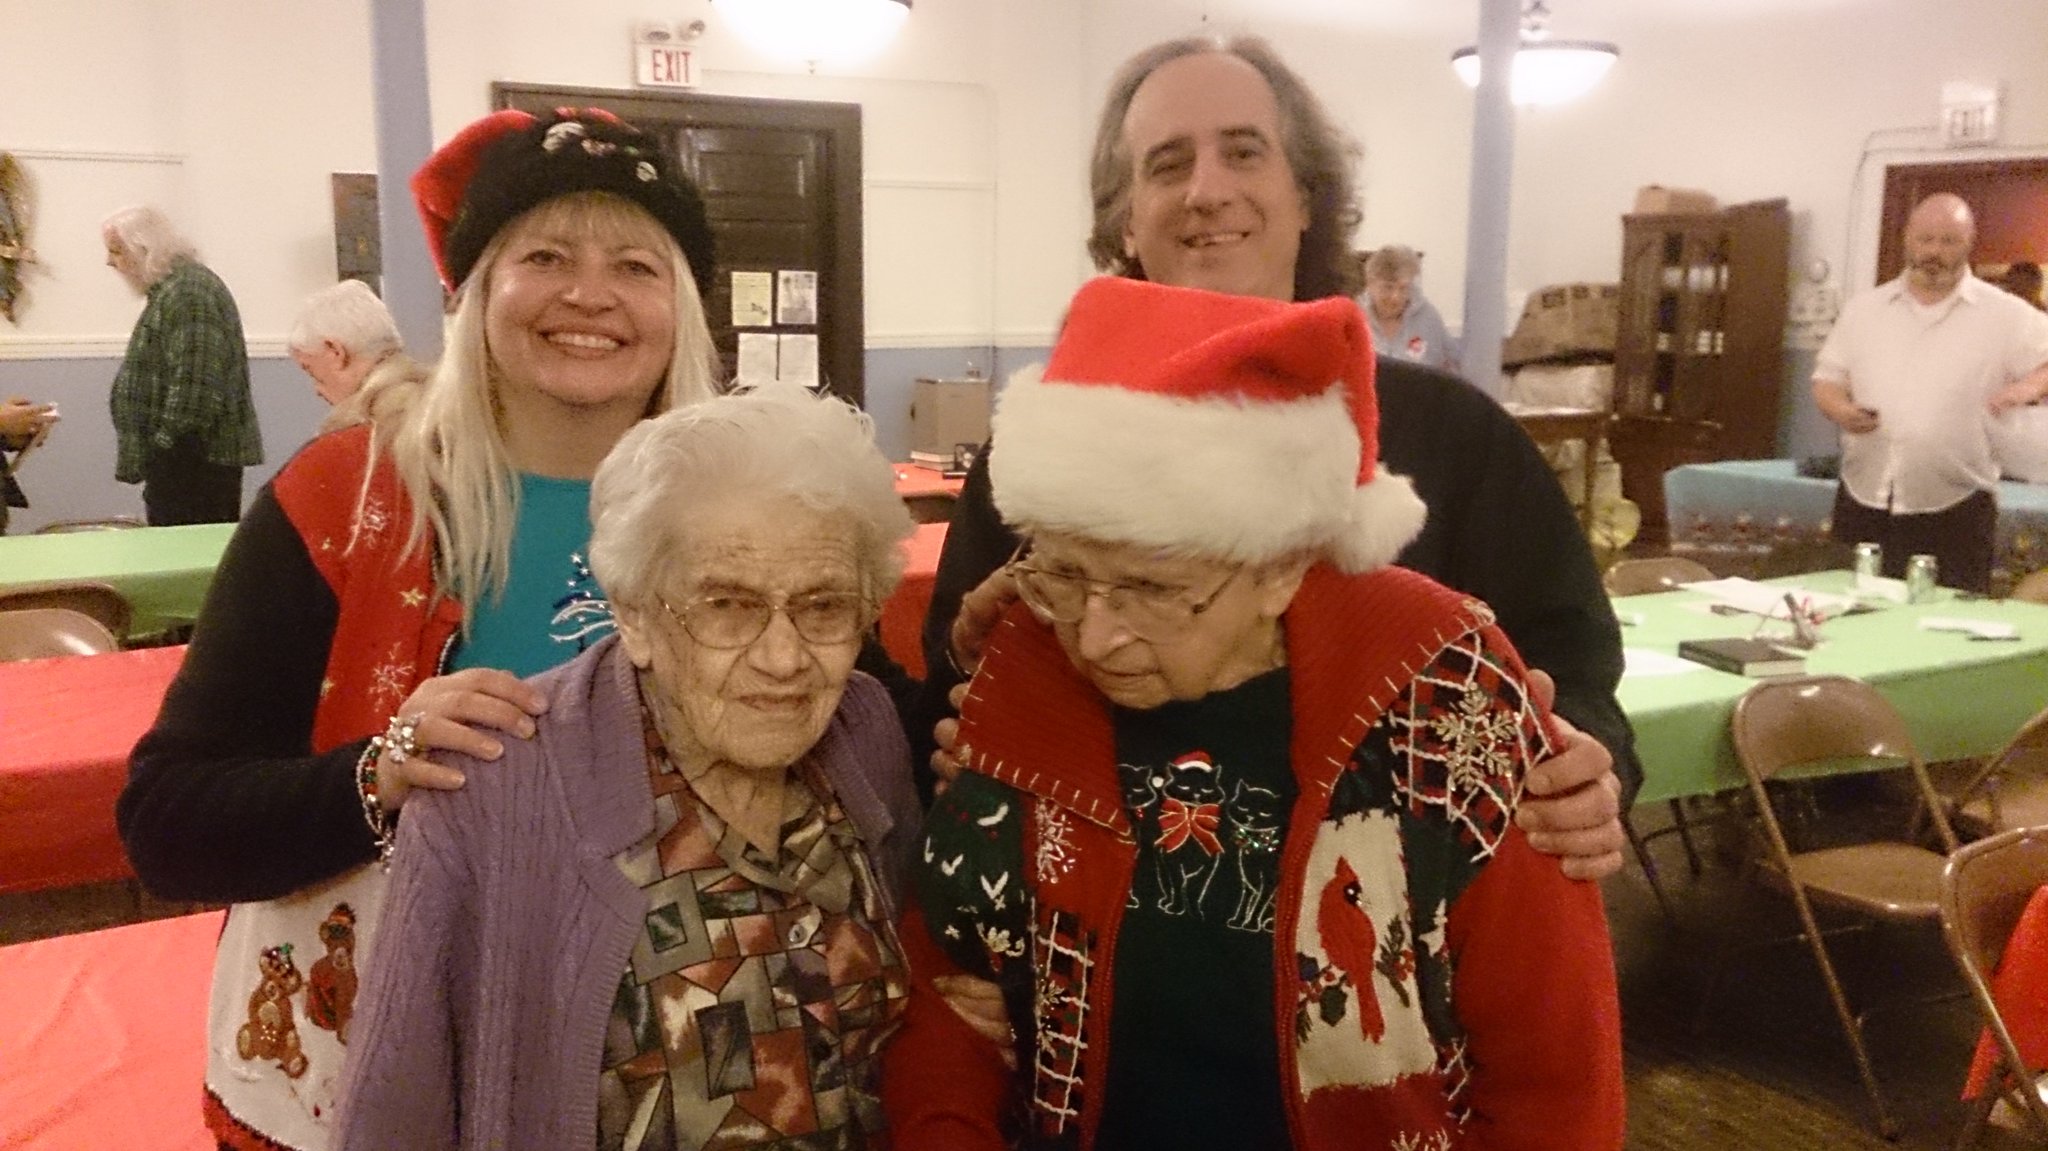
And here she's brought her boyfriend, mom, and aunt to the party.


Miranda is bringing the Halloween spirit to Christmas! The decorative Halloween sweaters are actually news to me. I've only just recently learned of them! Turns out there's quite a collection on ebay. Isn't this a cute Halloween vest? I love the lights on this tree too, the pink and turquoise.


Jason is super festive as the elf at the party, complete with mini-elf. :)


Melody dropped by in her new sweater - pink with candy canes and bows:


Because no party is complete without music, here's the perfect playlist for this theme! I looked for some vintage songs since a lot of Christmas sweaters and outfits are out of the archives. Enjoy these 12 vintage Christmas songs and this groovy living room setting!


Here are some rum balls for you to pass around:


And some cupcakes:


And a little Christmas quiz for you:

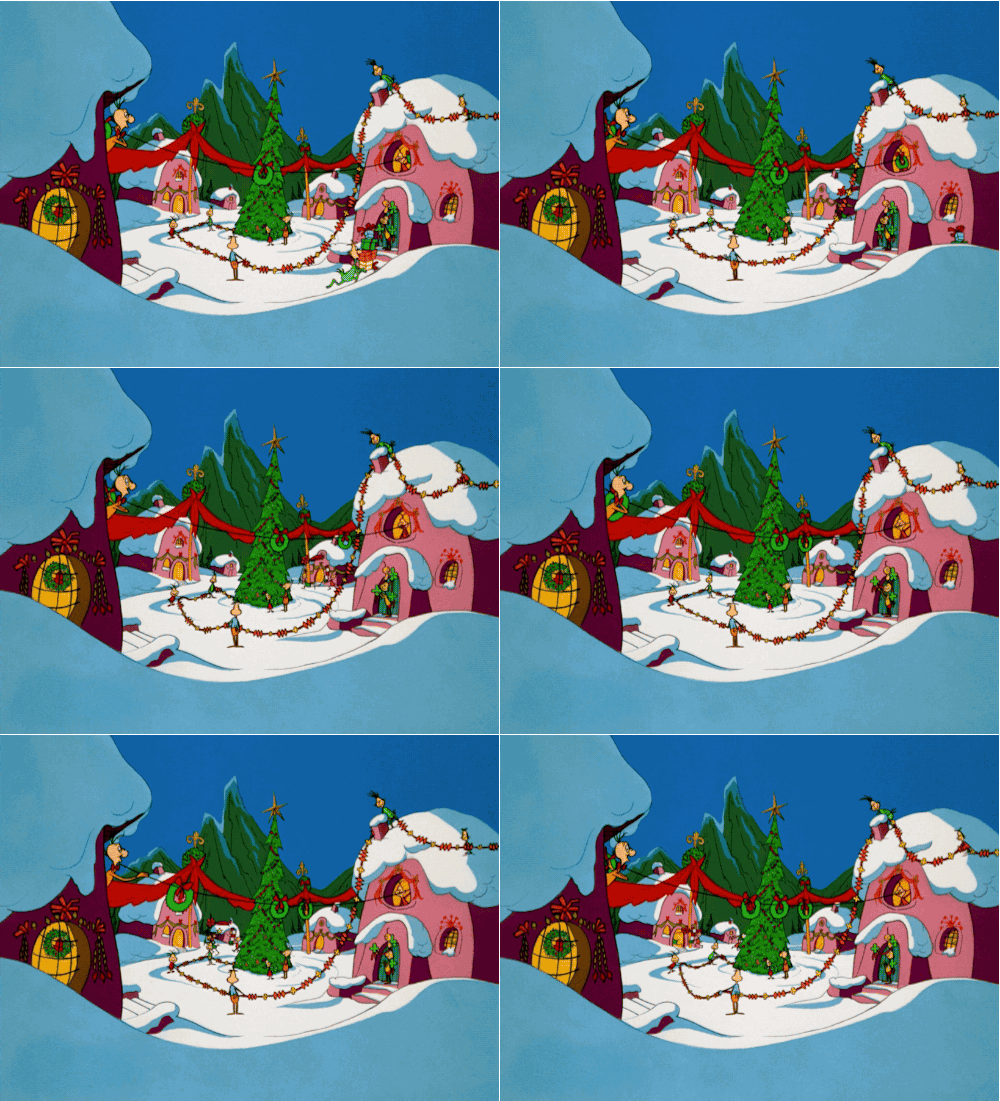
Which TV shows featured these 16 Santa Clauses?

I warn you, this is a tricky one! I got 9 out 16 correct. There are some clues in the backgrounds if you look closely.


Feel free to send me pics of yourself in your wildest Christmas sweater or outfit! I'll keep adding to this post. And thank you to those who sent in pics! They all brightened my day.


Welcome to the Witch Party! 2016

| | 0 comments


Hey guys! I'm excited to share this year's Witch Party photos with you. This year's party went really well. We were fortunate enough to have some nice, almost summery weather the night of the party. Things came together in a more organized way than ever, but then I guess we should have it together after having a Witch Party for 16 years! Can you believe it? Neither could our guests.

Here's one of this year's invitations. Going through the shops this year, I haven't been so much inspired by the Halloween merchandise as the Day of the Dead stuff. So I was in the mood for bright colors as well as gold for some reason.


See the eyeball? I was inspired by those Bizarro comics. You know how there's an eyeball hidden in those?


As I said in the last blog post, we were lucky enough to have some Halloween stamps this year! They looked nice on the purple envelopes.


This picture goes to show how nice the weather has stayed. There are still zinnias out there.


Here's that little floral display I mentioned in the last post, the one where I used the leftover flowers from my hat band.


Finally I found a way to work these life-size glitter skulls into a decoration. They were really pretty with the candlelight on them.


The other skull got to go in another prop that I never knew what to do with. It's depressing to have something locked in a cage, but to have a killer spider escaping from a cage works fine. I wanted it to look like the spider was storing the remnants of its victims in there!


You'll notice that the spider is holding what I think of as a ticket to the party. I found this free printout on The Graphics Fairy web site. You guys might want to check that out, because there are a lot of vintage looking Halloween printouts there. (That link goes to the Halloween section.)

So I added a little glitter to the printout and there ya go:


I feel like this skull in a cage prop could work with a pirate theme too.


So going inside...


This came with my Victoriana calendar years back:


Remember the bottle collection and my spell book?


A slithery snake...


This witchy toad is actually a large pin you can wear. It came from one of our Cedarburg trips.


Can you believe mom made every one of these witch hats out of felt? This is a miniature witches' coat rack. That's a spooky tree holding the hats. See the little broom too? Each guest was supposed to get one of these hats, but I think they thought the hats were too nice to take. So the hat and coat rack remained intact. 


I was happy to find the last pack of those glitter balls at Dollar Tree. Can you believe they were only $1.00?


The paper fringe border gave a vintage look to the display, like when people decorated for Halloween with paper in the 1920s-30s.


The napkins were a Tuesday Morning find years back. They look like little shirts and they stand up on their own.


Mom also made the brooms.


One of the place cards:


A few of these glitter spiders were holding candles on the table.


The gold snakes I shared in the last post were out and about.


One blended in nicely on a big spell book.


This witch/crow statue made its debut this year after getting a makeover. She'd been a gift and was very plain before and had a different face.


So now I'm very happy with her and it's like she's a brand new decoration.


Here's my new hat band in action!


I included this one to show you my feet. I was really happy with how the sock and shoe combination went.


I found those shoes a decade or so ago at a thrift shop for $3.00. They're from the 60s and really well made. These kind of heels appear to be in style this year too. I'd been doing some of that genealogy research at the library and saw some old school photos of my grandmother on Ancestry where she and the other girls were wearing little foldover socks with their shoes. I thought "That is so cute! I want to try that!" So I had a chance to for the party, and this is my version of that look.

You'll have to bear with the angles on these photos, because it's hard to take a picture of your own foot. OK, so I wanted to show you a special feature of these socks. Here's one folded over:


And when you lift the cuff, you can see the skeleton's polka-dot boxers!


The earrings I wore:


And I had to include this picture to brag up that I actually got the false lashes on my entire eyes this time! With the advice some of you have given me, I cut part of the eyelashes off before applying them. That worked a lot better.


Mom in her outfit:


Some of you may have heard from me about these cookies! They're like a sugar cookie but with extra cinnamon added and they're amazing! I got the recipe last year in the WE Energies Christmas Cookbook they give out in Wisconsin. I only tried this one recipe out of the book but I've tried it again and again. I made these for New Year's (stars), Valentine's Day (hearts), and for summer (flowers). This time it was pumpkins. 


You'll want to try this simple and delicious recipe:

Cinnamon Hearts (Go to page 20 in the pdf)

So I decided to decorate each pumpkin a little differently:


Some were different warm colors and others had faces like traditional jack-o-lanterns.


These two characters were some of my favorites:
 

Him too:

The one with the sprinkles ended up reminding me of a doughnut.


Spiderweb pumpkin:


That bug started as a cat face with whiskers, then somehow morphed into a bug.


The cookies must have been good because a few people grabbed some to take home!

We had a new kind of ice cream, at least to us. It's called Chicago Brick, I assume because it looks like bricks on old Chicago buildings? Chicago Brick is three flavors: Orange Sherbet, Vanilla, and Caramel. It is so good! You might not think these flavors would go together, but they do.


We had fun playing around with some of those photo props on sticks:


I went outside to take a few photos as it got darker.


This skull you might remember from years past. You've usually seen it hanging out in the trick-or-treat bowl.


I was very fortunate to spot the moon as the clouds drifted off of it for a few minutes. The night was mostly overcast. I was making a point of looking for the moon because on the 15th we had a Full/Super/Blood/Hunter's Moon! How perfect is that for a Halloween party?


These are the gifts the guests brought:


Notice how they used the Bewitched font?


Some gourmet nuts:


Chocolate covered sunflower seeds, which I thought were popcorn kernels and some really good candy. Werther's Original caramel apple and Lindt's pumpkin filled chocolates.


A lavender scented dryer ball, which was new to me. It smells really good!


And a cute little witch ornament. Her hands were naturally out like that so I gave her one of the candies to hold.


Although, I think she could hang from that loop on her hat, she's propped up here on a candle holder.


Hope you guys enjoyed the photos! And speaking of parties, I'd still like to do the Halloween Blog Party the weekend before Halloween, so send me those costumed photos!

http://bestanimations.com/Holidays/Halloween/haloween-bats.gif